Precisely How you can DIY Tape-In Hair Extensions
I’ve put in semi-permanent hair extensions for somebody with no skilled cosmetology coaching, excess of the common particular person. My adventures started in highschool after I gave myself a full set of field braids with embroidery thread leftover from my days making friendship bracelets. In my 20s, I dreadlocked my hair, for which I made extensions sewed in, and in my early 30s, I used to be a daily at micro-rings (human hair extensions formed like tiny shoelaces that you just thread with a bead via slivers of your individual hair). Because of this, I’ve alternated between crochet braiding for the final ten years after I need my pure texture and tape-in extensions after I need straight hair for a spell.
Whenever you analysis tape-in human hair extensions, the primary piece of recommendation you’ll discover on-line is to go to knowledgeable as a result of you possibly can’t presumably carry out this activity properly your self. By far, the method is the best of all semi-permanent extensions however, like something, is perhaps damaging if you happen to do it incorrectly. Fortunately, you needn’t heed that recommendation as a result of I’m right here to inform you the best way to safely DIY tape-ins so they appear nice, final some time, and price about 10% of what you’d pay in a salon. The following tips have been permitted by hairstylist and Manic Panic ambassador Nico Norris.
The act of putting in tape-ins, which we’ll evaluate in depth under, includes sandwiching two extension items in-between bits of your individual hair. The tape on every extension faces internally, which means the hair is taped to each your individual hair and itself. It will probably final for a couple of month, however some individuals maintain them in for as much as two. The hair will be reused if you happen to take away the adhesive and apply new adhesive strips to the hair wefts. And it isn’t a lot the set up of tape-ins that requires finesse, as the place you place them and the way you deal with your individual hair in order that they mix in addition to doable. We’ll, after all, evaluate that, too. Under is a DIY information for freshmen, with suggestions and tips to make your hair life extra thrilling—no salon wanted.
A Few Primary Guidelines
- The primary time: Add quantity and/or coloration, not size. Including size will probably require reducing, which is definitely fairly simple when you’ve mastered the tape in set up course of, however you don’t wish to begin out making an attempt to sort out each of these issues.
- Buying hair: Select extension size based mostly by yourself hair size (you possibly can measure it with a tape measure). Sometimes a protracted bob is 10 inches, shoulder-length hair is 14 inches, and 18-20 inches will land at mid to decrease again size. Amazon is the best place, with the broadest collection of selections. If you wish to add quantity solely, select your actual hair coloration. If you would like quantity and coloration, select a coloration that isn’t your individual however will pair properly, comparable to a blonde/brown combine when you have naturally brown hair or jewel tones for naturally black hair. I counsel two packs to start out, as that can be greater than sufficient so as to add quantity/coloration items throughout your head.
- Matching textures: most tape-in extensions offered are straight. If in case you have good S-wave curls, you’re protected to get the curly ones. If in case you have a distinct curl sample, wavy or straight hair, I like to recommend the straight ones and committing the period to flat ironing; in my expertise, that enables for probably the most pure look. As a result of human hair extensions are preternaturally shiny, it’s possible you’ll wish to purchase a shine spray to spritz over your individual hair for the perfect matching.
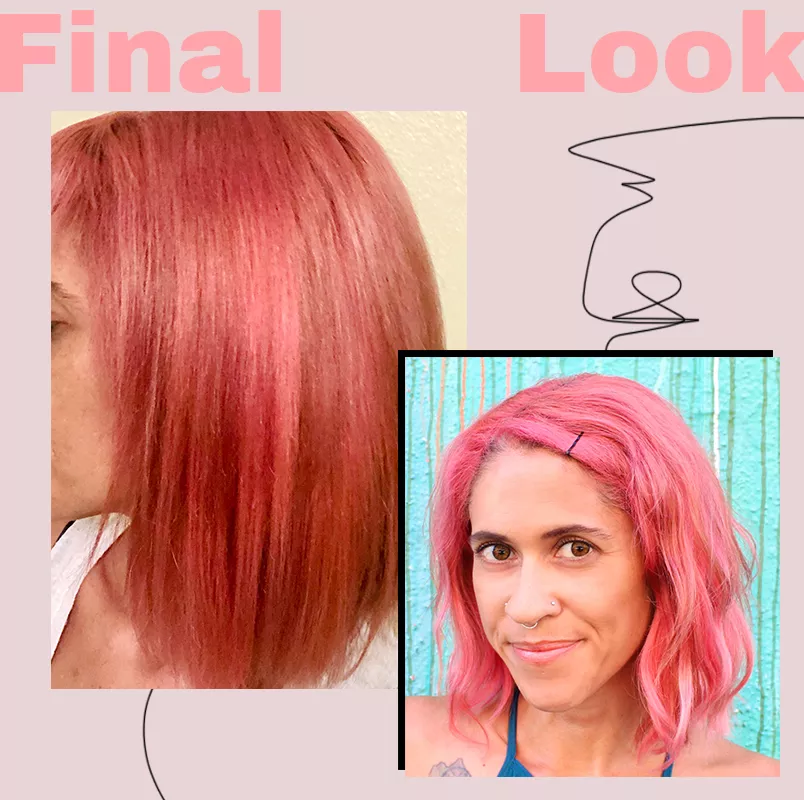
I created this information utilizing my very own latest hair extensions, which I chosen for 2 causes: to fight my growing-out shaved facet that’s considerably shorter than the remainder of my hair and add dimension to my shiny hair coloration. So within the two last picture pictures, just about all of the hair you see on the suitable facet of my head under my ear is extensions, as are the lighter items close to the underside on the left facet.
I deliberately purchased cheaper hair for this tutorial than I usually do as a result of I perceive not everybody can spend massive cash. And since saving cash is the purpose of DIY’ing, it made probably the most sense to get an easy-to-find, cheap alternative. As a result of there was no hair out there within the pinky-peach vogue coloration I’m presently sporting, I bought coloration 613 (platinum blonde). I dyed it myself with the identical semi-permanent dye as my very own hair. Additionally, I deliberately didn’t flat iron the extensions after they dried on a towel in order that they’d be extra seen within the set up step photos.
The Steps
Upon getting the hair, take away it from the packaging, then comply with these steps:
- Step 1: Half your hair the place you’d like to position the primary extension, which will be wherever at the very least one inch from the highest or sides of your head. The upper up, the extra seen it is going to be. Bobby pin the hair above tightly. Then, drag a skinny line of hair the width of the extension items with a bobby pin, comb, or different skinny factors comparable to a protracted tail brush. Bobby pin the hair beneath that right down to keep away from it getting caught.
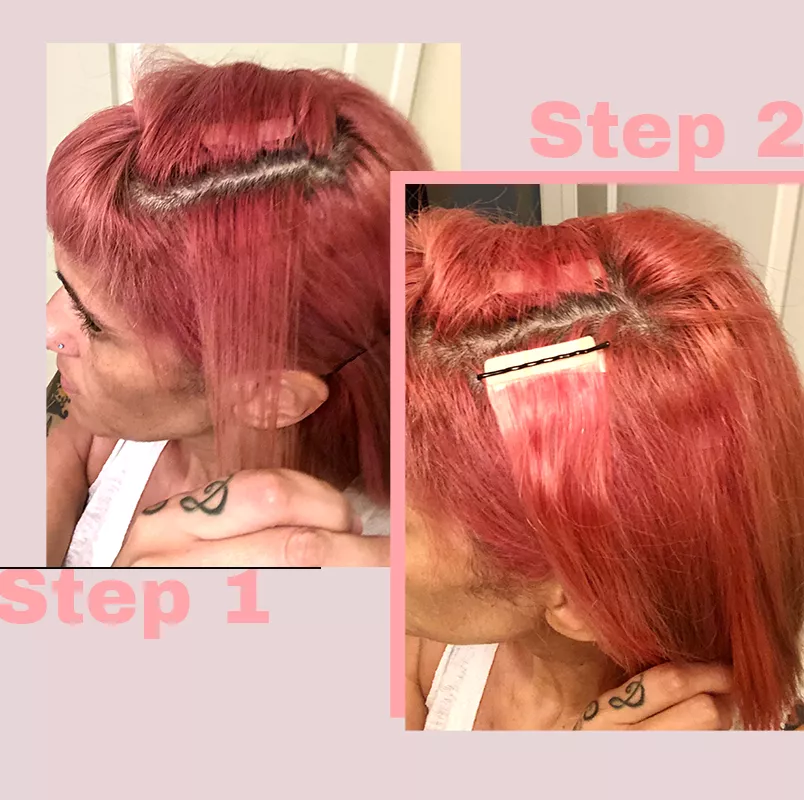
- Step 2: Till you’re properly skilled with extension placement, this extra step is critical. Earlier than really taping within the extension, use a bobby pin for apply placement by securing two extension items to the strip of your hair on the root. This ensures 100% how the extension will look. Subsequent, launch the bobby pin from the hair above the extension and let it fall. If happy, bobby pin that free hair again up, take away the pinned extension, and transfer to the following step. If not happy, repeat these first two steps till the extensions are in a spot you just like the look of.
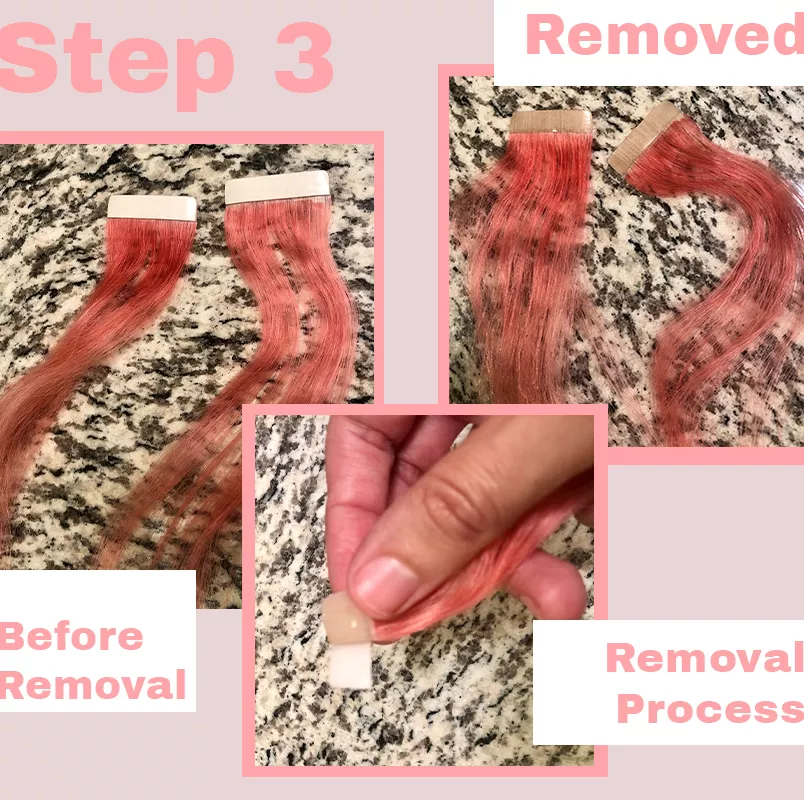
- Step 3: Take away the adhesive from the 2 extension items.
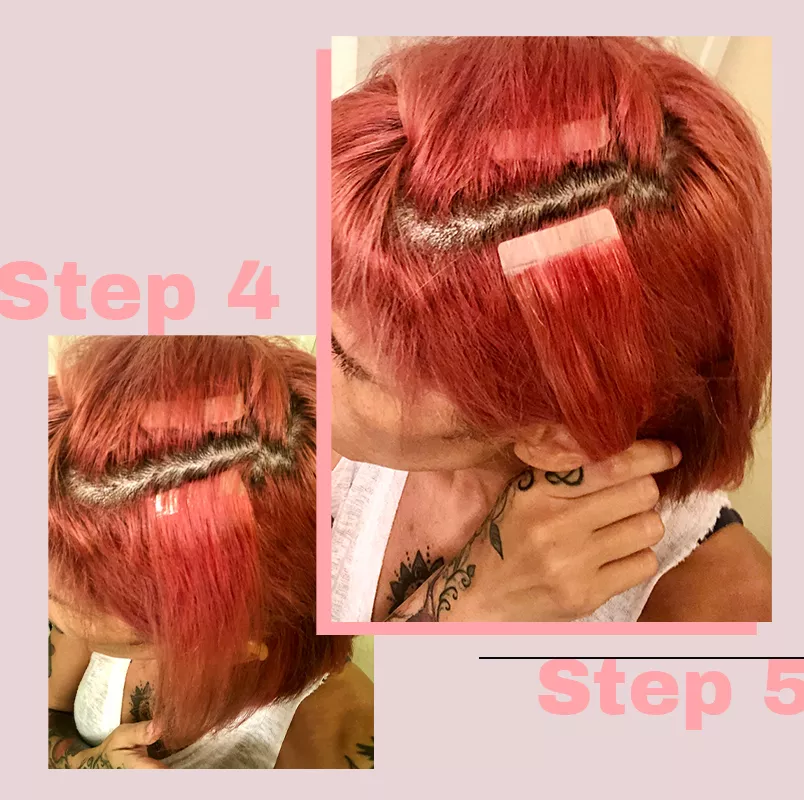
- Step 4: Place one extension piece beneath the strip of your hair, ⅛ to ¼ inch from the foundation.
- Step 5: Place the opposite piece precisely on prime of that first piece, with your individual hair strip within the center, and press to seal. Take away bobby pins and shake your hair round to make sure the extension sandwich sits naturally.
With two packages of hair, you’ll have sufficient for twenty sandwich items, ample so as to add vital quantity and/or coloration. The bobby pin apply step will stop errors or odd placements, so use that till you’ve got full confidence in placement. A couple of notes for holding them wanting pretty much as good as doable:
- Keep away from hair oils close to your scalp. Oils are Kryptonite for adhesive.
- Strive to not wash and even moist your hair greater than each few days. As an alternative, use dry shampoo when wanted in between. You’ll discover that the extensions take in oil, so that you don’t want to scrub as usually.
- Know that your wash days can be significantly fluffy and time actions/photograph alternatives accordingly. Even if you happen to flat iron the extensions, the primary day all the time seems to be further voluminous.
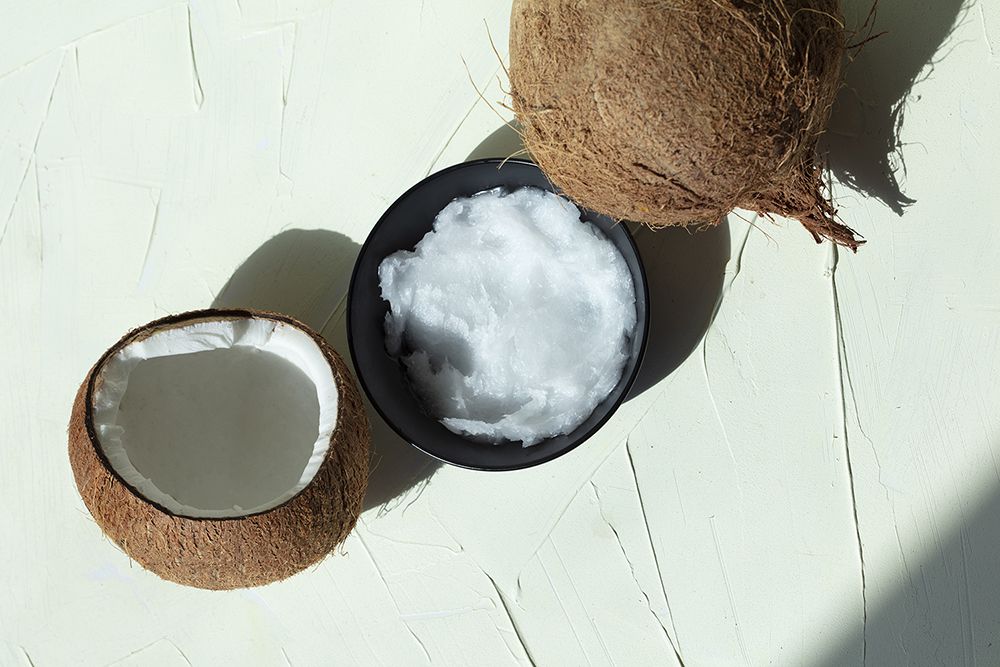
When able to take away your extensions, use a thick oil like coconut or an adhesive remover made for hair glue and tape. Rub it into the extension sandwich root, pushing together with your fingers to separate the sandwich, and gently take away the extensions. Use a fine-tooth comb to launch any bits of tape left behind, and wash totally.
DIY’ing tape-in extensions could seem daunting at first, however when you get the dangle of it, the method is swift. As well as, putting in your individual extensions offers you the liberty to alter colours with out damaging your individual hair, helps to disguise awkward grow-out phases, and provides you the pleasure of lengthy hair with out a long-term dedication—all at a small fraction of the skilled price.